The Ultimate Beginner’s Guide to Cold Process Soapmaking
Cold process soapmaking is more than a craft — it’s a return to intentional creation. In a world of mass-produced products and unreadable ingredient lists, cold process soapmaking offers something rare: control, creativity, and confidence.
This comprehensive guide is designed as a pillar post — the central resource that connects all of your soapmaking content. Whether you are a curious beginner, a passionate hobbyist, or someone dreaming of selling handmade soap, this article will walk you through everything you need to know while linking to deeper learning at every stage.
Table of Contents
- What Is Cold Process Soapmaking?
- The Science of Saponification
- Cold Process Soapmaking Safety
- Tools and Equipment for Soapmaking
- Soapmaking Oils and Ingredients Explained
- Understanding Soap Recipes and Lye Calculations
- Step-by-Step Cold Process Soapmaking
- Coloring and Fragrance in Soap
- Swirls, Designs, and Artistic Techniques
- Common Soapmaking Mistakes
- Learning Advanced Soapmaking Skills
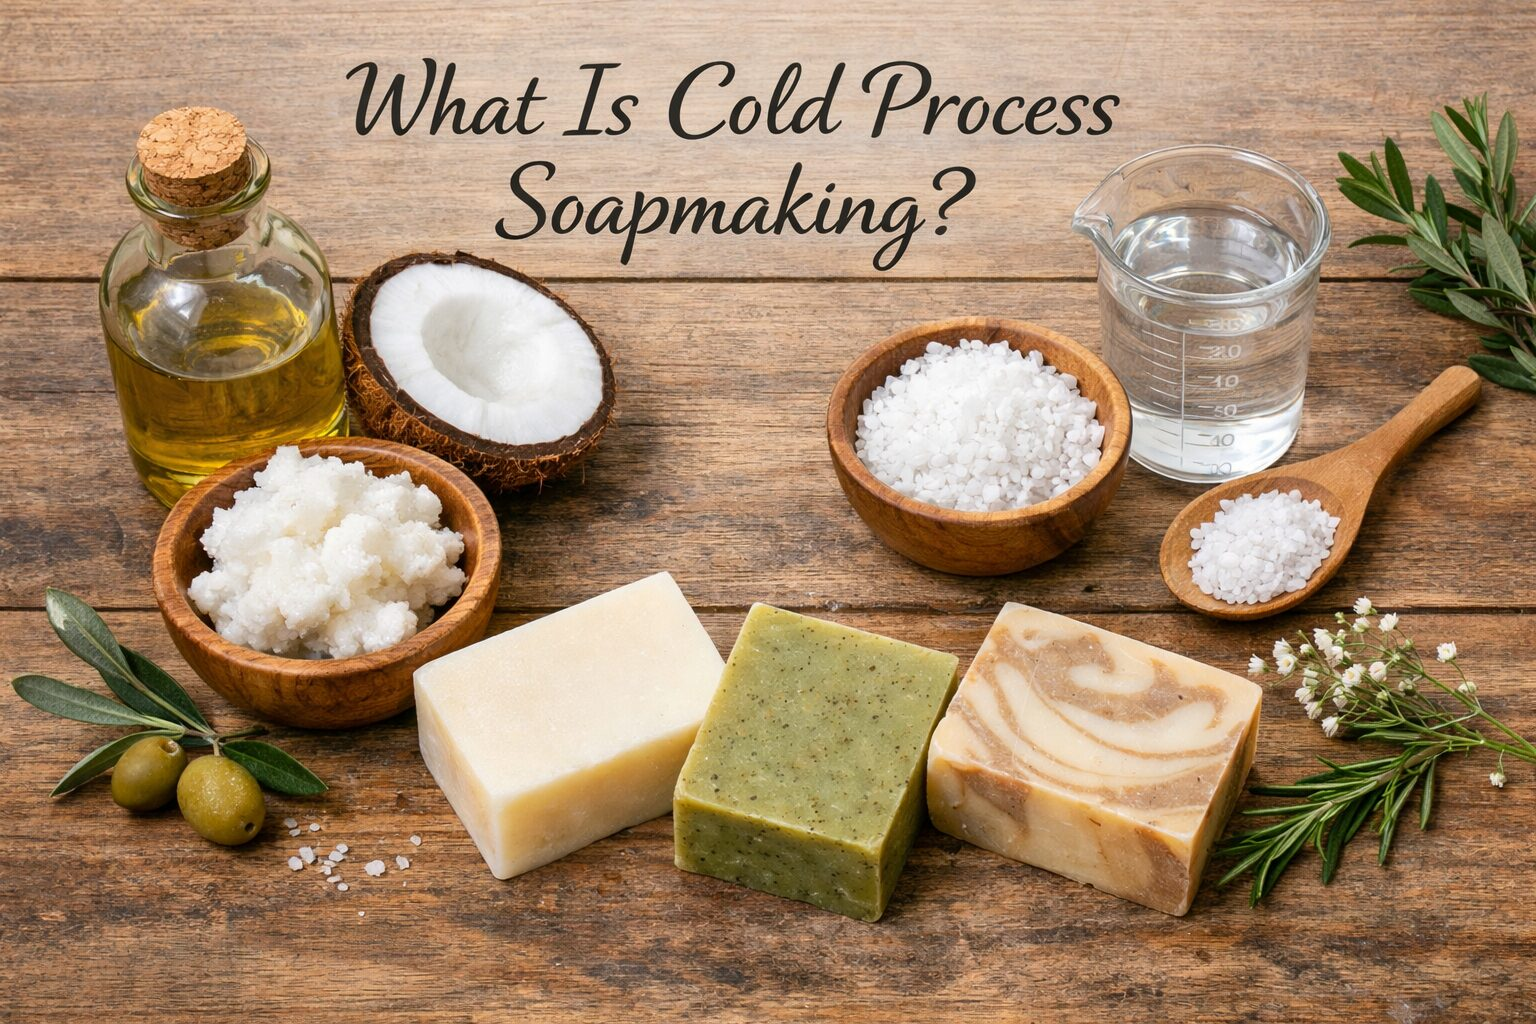
What Is Cold Process Soapmaking?
Cold process soapmaking is a traditional method of making soap from scratch using oils, sodium hydroxide (lye), and water. Through a chemical reaction called saponification, these ingredients transform into soap and naturally occurring glycerin.
Unlike melt-and-pour soap, cold process soap:
- Is created entirely from raw ingredients
- Retains natural glycerin for skin conditioning
- Allows full customization of oils, scent, and design
- Requires a curing period for best quality
👉 Internal link idea:
“Cold Process vs Melt and Pour Soap: Which Is Better?”
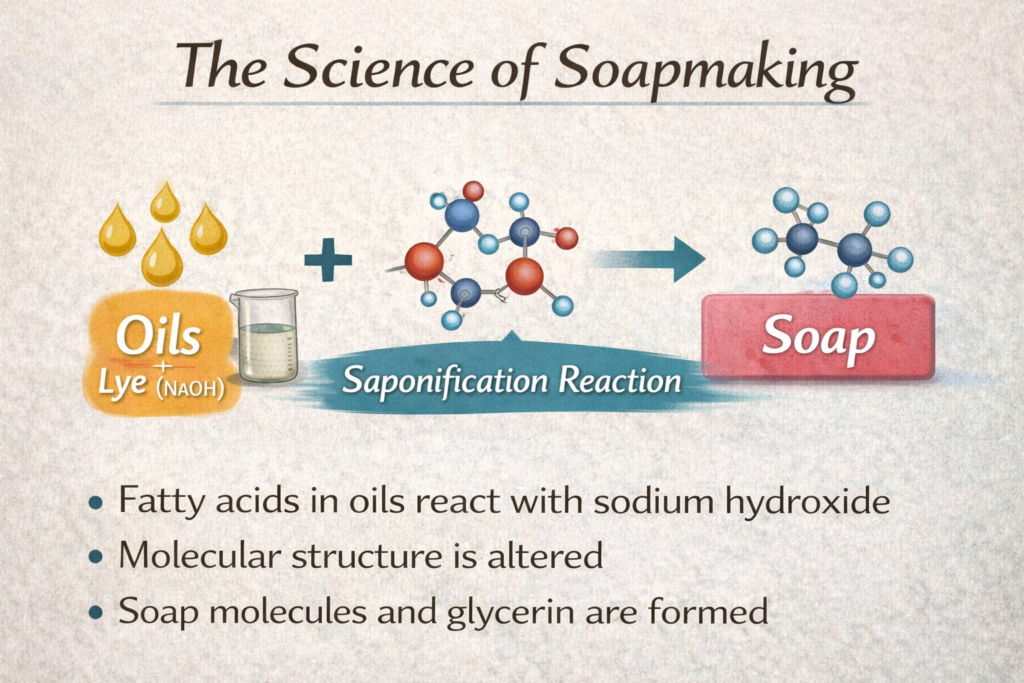
The Science of Saponification (How Soap Is Made)
At the heart of cold process soapmaking is chemistry.
Saponification occurs when:
- Fatty acids from oils react with sodium hydroxide
- The molecular structure changes
- Soap molecules and glycerin are formed
Each oil contributes unique properties:
- Olive oil → gentle, conditioning soap
- Coconut oil → cleansing and bubbly lather
- Palm oil or tallow → hardness and longevity
- Castor oil → creamy, stable lather
Because soapmaking is chemistry, precision matters. This is why every recipe must be calculated carefully.
👉 Internal link idea:
“What Is Saponification? Soapmaking Science Explained Simply”
Cold Process Soapmaking Safety (Must-Know Basics)
Cold process soapmaking is safe when done properly — but lye deserves respect.
Essential Safety Guidelines
- Wear gloves and eye protection
- Mix lye in a well-ventilated space
- Always add lye to water, never water to lye
- Use stainless steel or heat-safe plastic
- Keep children and pets away
Once soap has fully saponified and cured, no lye remains in properly formulated soap.
👉 Internal link idea:
“Soapmaking Safety: How to Work with Lye Confidently”
Tools and Equipment for Cold Process Soapmaking
You don’t need a professional studio to start, but accuracy is essential.
Required Soapmaking Tools
- Digital scale (grams or ounces)
- Stick blender
- Heat-safe containers
- Silicone spatulas
- Thermometer
- Soap mold
- Safety goggles and gloves
Dedicated soapmaking tools should never be reused for food.
👉 Internal link idea:
“Essential Soapmaking Tools for Beginners (Checklist)”
Soapmaking Oils and Ingredients Explained
The oils you choose determine how your soap feels, lathers, and lasts.
Common Soapmaking Oils
- Olive oil – mild and conditioning
- Coconut oil – cleansing and bubbly
- Palm oil – hard, long-lasting bars
- Shea butter – creamy and nourishing
- Castor oil – boosts lather
Other Ingredients
- Distilled water
- Sodium hydroxide (lye)
- Fragrance or essential oils
- Colorants (micas, clays, botanicals)
👉 Internal link idea:
“Soapmaking Oils Guide: What Each Oil Does in Soap”
Understanding Soap Recipes and Lye Calculations
Soap recipes are not flexible guesses. Every recipe is calculated using a soap calculator to determine:
- Exact lye amount
- Water percentage
- Superfat level
What Is Superfatting?
Superfatting leaves extra oils unsaponified, making soap gentler and more moisturizing. Most beginner recipes use 5–8% superfat, although I have seen superfatting recipes as high as 15%.
Beginner Recipe Structure (Example)
- 45% olive oil
- 30% coconut oil
- 20% palm oil
- 5% castor oil
👉 Internal link idea:
“How to Use a Soap Calculator (Beginner Walkthrough)”
Step-by-Step: How to Make Cold Process Soap
This is a high-level overview.
Step 1: Prepare the Lye Solution
Weigh out your lye and water. Slowly add lye to distilled water in a heatproof, alkali-resistant container (like Pyrex™ or Corningware™) and stir until dissolved. Allow to cool. IMPORTANT: Never pour water onto dry lye; always add dry lye slowly to your water. Pouring water over lye can result in the lye-water solution “bursting”, sending very hot, chemical-laden water flying upward and outward.
Step 2: Measure and Melt Oils
Weigh oils accurately and melt solid oils gently. Be careful not to boil or burn oils in this phase
Step 3: Combine Oils and Lye
When both the lye-water slolution and the oils are within a good temperature range (90–110°F), combine carefully.
Step 4: Bring to Trace
Use a stick blender until the batter thickens slightly. At trace, soap drizzled off the blender will leave a light trace, or visible marking, on the top of the soap.
Follow the next two steps quickly:
Step 5: Add Fragrance and Color
Mix quickly but gently to avoid acceleration.
Step 6: Pour into Mold
Pour the semi-solid soap into a lined soap mold. Line your molds with butcher paper or baker’s parchment paper. Set in a safe place to cool and harden.
Step 7: Unmold and Cut
After 24–48 hours, remove from the mold and cut into bars. NOTE: This soap is not yet ready to use. It still contains some lye that will saponify as the bars cure (next step).
Step 8: Cure
Allow soap to cure for 4–6 weeks. This will allow the bars to fully saponify.
👉 Internal link idea:
“Cold Process Soapmaking: Step-by-Step Beginner Tutorial”
Coloring and Fragrance in Cold Process Soap
Color and scent transform soap into an experience.
Soap Colorants
- Micas (vibrant, stable)
- Natural clays
- Artificial Colorants (i.e. FD&C Colors or soaping dyes)
- Activated charcoal
- Botanicals (texture, not color)
Fragrance Tips
- Measure fragrance oils precisely
- Some scents accelerate trace
- Essential oils behave differently
👉 Internal link idea:
“How to Color and Scent Cold Process Soap Safely”
Swirls, Layers, and Artistic Techniques
Once you can control trace, soap becomes art.
Popular techniques include:
- In-the-pot swirl
- Drop swirl
- Marble swirl
- Layered soap
- Textured tops
👉 Internal link idea:
“Beginner Soap Swirl Techniques (Visual Guide)”
Common Cold Process Soapmaking Mistakes
- Measuring by volume instead of weight – the only exception is water; one fluid ounce weighs one ounce
- Over-blending soap batter – this causes the soap to “seize”, or turn hard in the mixing pot
- Using too much fragrance oil
- Skipping cure time – this results in a lye-rich soap that is harsh to the skin
- Ignoring safety protocols – trust me, you DON’T want chemical burns
Mistakes are part of learning — every batch teaches something.
👉 Internal link idea:
“Top Cold Process Soapmaking Mistakes (And How to Fix Them)”
Going Further: Advanced Soapmaking Topics
Once you master the basics, explore:
- Milk soaps
- Salt bars
- Hot process soap
- Vegan vs animal-fat soaps
- Selling handmade soap legally
👉 Internal link ideas:
- “Cold Process vs Hot Process Soap”
- “Can You Sell Handmade Soap? Legal Basics”